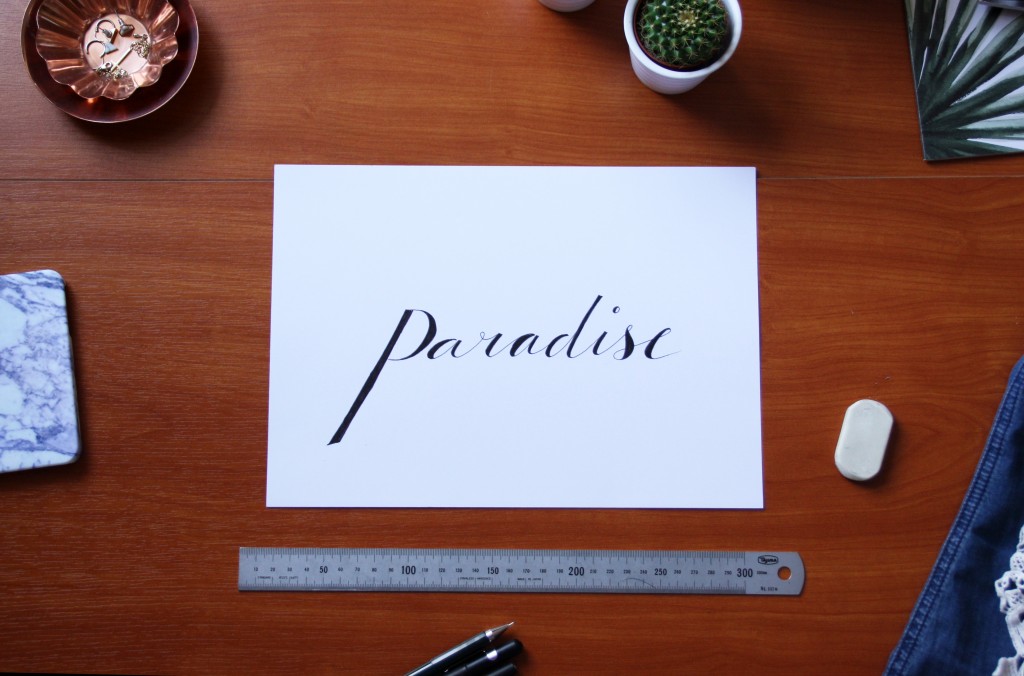
I’m pretty excited about this first DIY tutorial here on my website. Since I am new at this, feel free to give any feedback or tips so I could improve the tutorials. For this first tutorial I’ve decided to teach a little about hand lettering. It will be a nice basic skill that could come in handy for some of the future tutorials I have in mind. Now, hand lettering might seem a bit difficult at first (I thought it was too) but once you’ve tried it you’ll get better at it quite fast, you’ll see. So let’s get started!
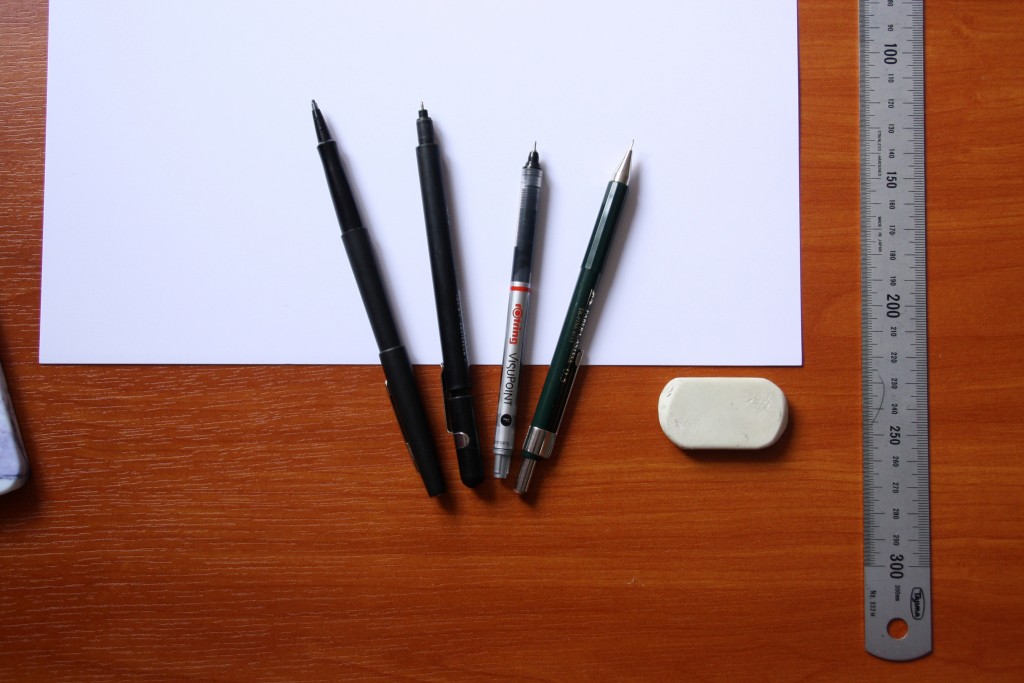
What do you need?
- Paper
- Pencil (I prefer to use a really thin one, 0.5mm refillable, but a regular pencil will do fine)
- Fineliner pen, 0.5mm and a thicker one
- Ruler
- Eraser
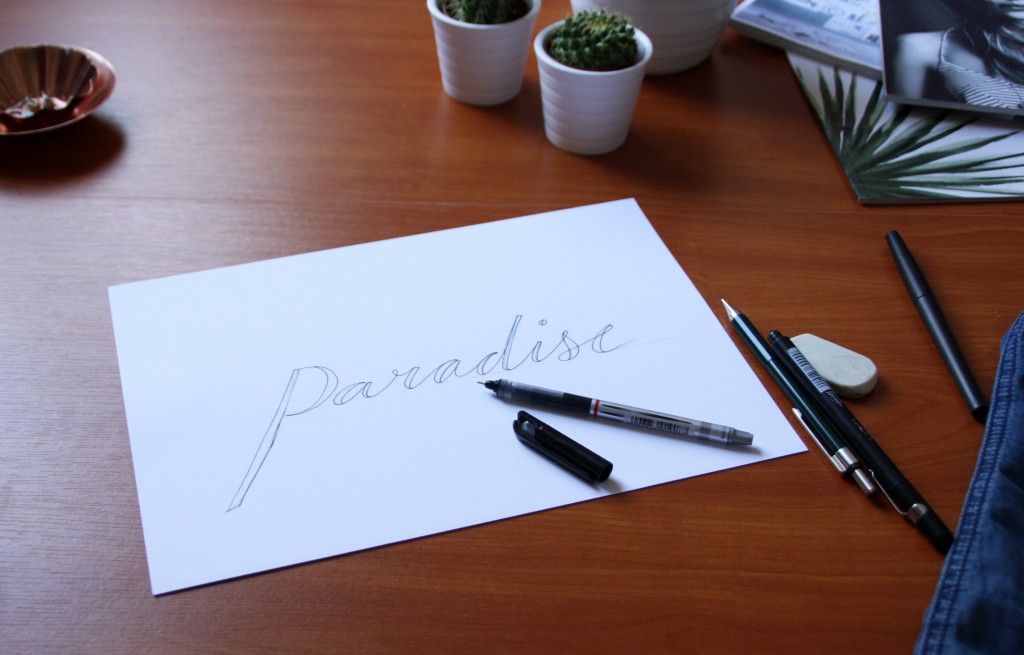
Ok now that you have everything, let’s move on to the first step: practice your handwriting using the pencil. Try to put the focus on writing it in one smooth movement, this is important cause you will need to be able to trace the same word again following the same lines. This will be the easiest if you stick with your own handwriting (even if you feel like your handwriting is sloppy, don’t worry).
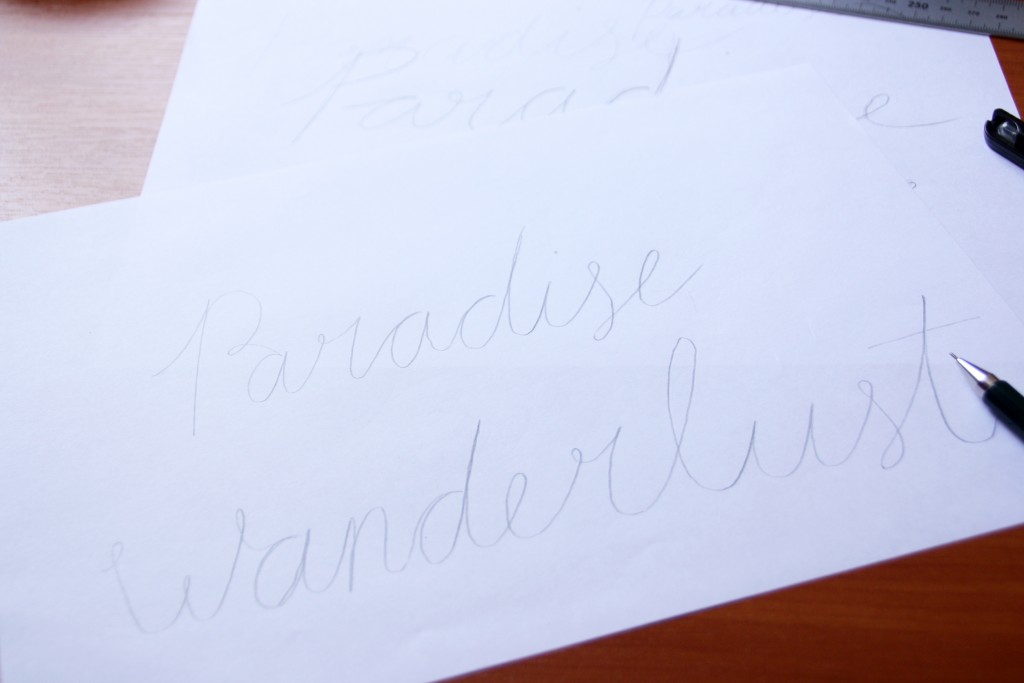
Once you get a bit of a hang of it, you can move on to this next step. Maybe even using a fancy kind of paper if you feel confident enough (like I feel all the time.. and then screwing up beautiful expensive paper…) You can draw a line with pencil first with your ruler to help you write the word in a straight line, it just depends on what style you prefer. Having the characters jump up and down will give a playful effect, it’s up to you!
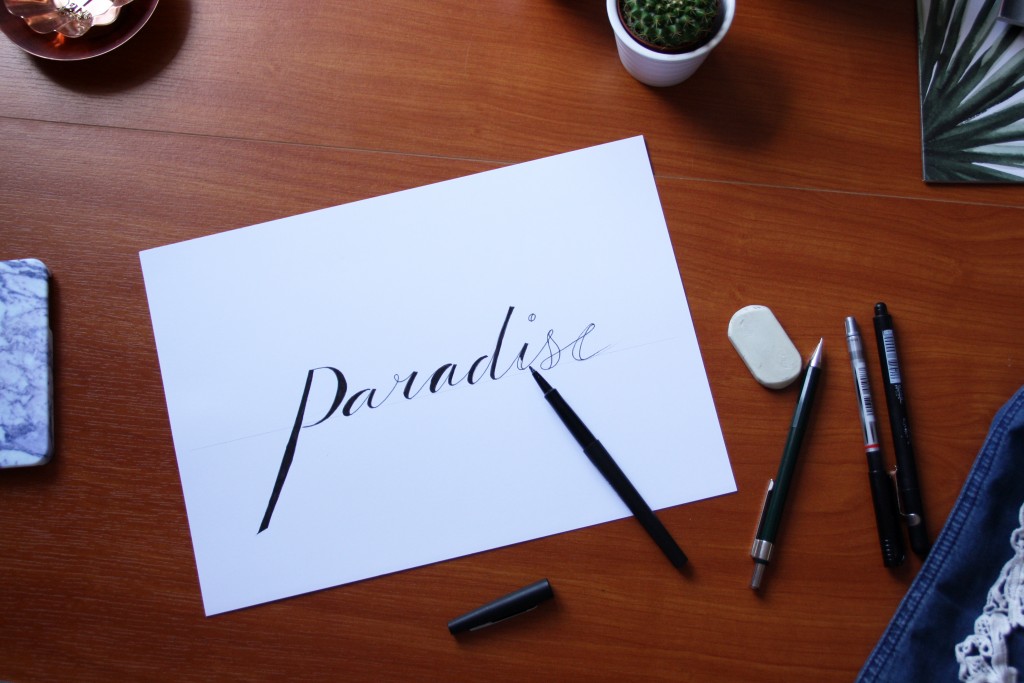
When you’ve decided where to place the word, try to estimate the width of it so you will know where to start. If you choose the same word as before you’ll know how much space it will need. Write it first with pencil again. Then add extra lines on each of the characters, always on the same side.
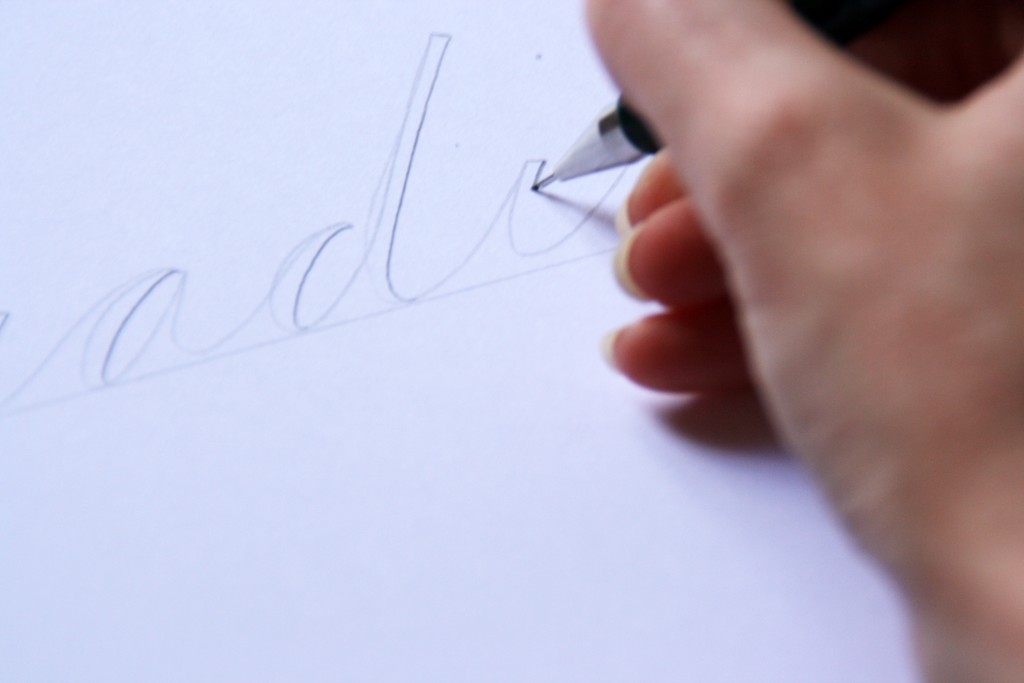
Then trace it with the 0.5mm fineliner, again in one smooth movement so you will not see dots where you stopped. It might not be perfect this first attempt, but you can still correct small mistakes in the following step.
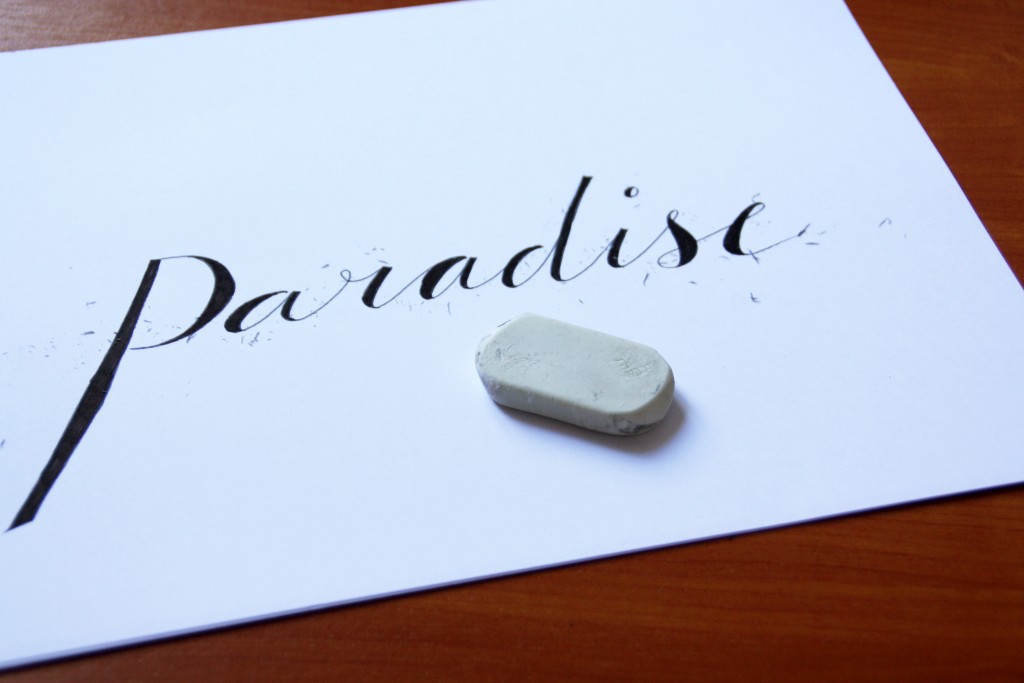
Now all you have to do is fill it with the thicker fineliner and erase the pencil lines.
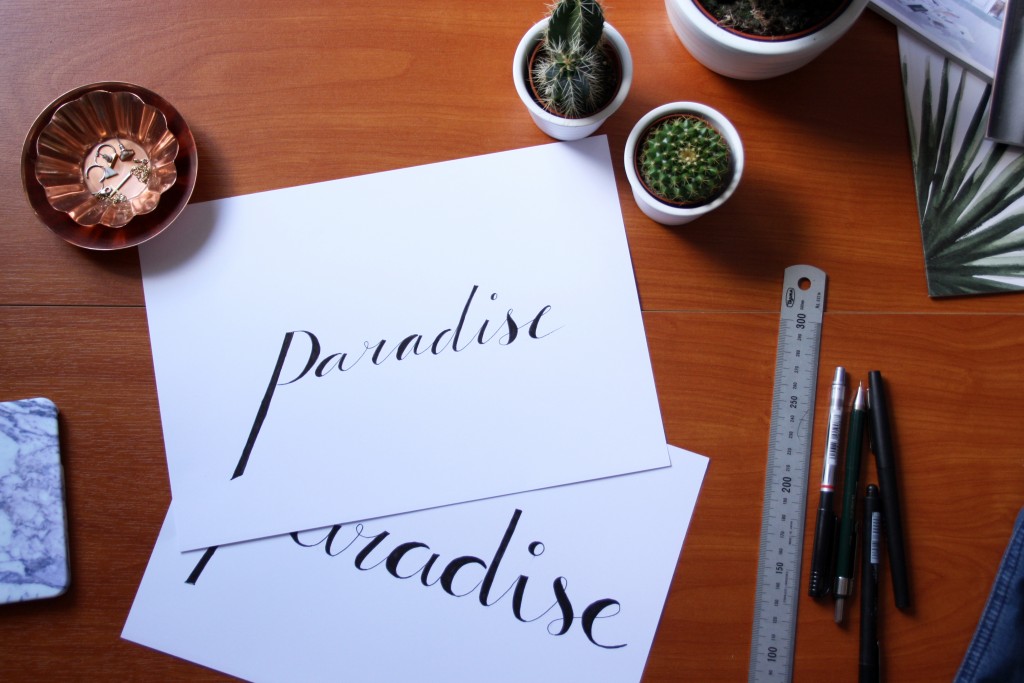
And of course there’s a chance yours doesn’t quite turn out like the one in my example, but that’s ok! As you can see in the picture below, with a different handwriting it has a different appearance but that’s what makes it your style. It will be unique, that’s what I like about it!
[…] a card of your own, you have two options. If you have a bit of time you can try my tutorial “handlettering” and use that technique to design your own card. If that’s a bit too much than you can […]